Table Saw Additon: Flip-Up Out-Feed Table

on Wednesday, December 21, 2011


I finished up my out-feed table the other day! (I added multiple pictures below to illustrate what I'm about to describe)
 
I wanted it to be as big as possible (when flipped up), as compact as possible (when flipped down), and as lightweight as possible to reduce the strain on the table saw stand and for ease of mobility.  With that in mind, the braces/mounts attached to the table saw are standard 2x4's and a 2x6 at the pivot point, the table frame is cedar 2x3's and the top is 1/2" MDF.  I am strictly using it as an out-feed (won't be hammering, etc. on it) and therefore went with the aforementioned structure. It is as wide as the factor table-top (40") and is 30" long.

The other key thing I wanted to include was adjustability.  At the joints of the "hinge-leg" and at the contact point of the hinge-leg when it's in the up position, I added screws (matched up head-to-head) that could be adjusted to increase/decrease the spacing/gap to be able to adjust accordingly after it was completely assembled.  I attached the top of the hinged-leg in such a way that it could be adjusted by increasing/decreasing the shim to raise or lower the back edge.  I also purposefully built the table to be a consistent 1/8" lower than the table saw top so that I could shim it up for a perfectly flat surface in relation to the table saw top.  I used piano hinges for the main hinge and the hinge-leg and I used 6 bolts to attach the 2x4's to the table saw (4 in the legs and 2 in the corners of the upper structure).

If you have any questions, please let me know!  I looked at several similar tables when building this one.  I am very happy with it but I do have a few things I would do differently if I built another one...  First, I would probably mount it differently to the actual saw. I would probably use the bolts that attach the steel extension tables to the cast-iron top to attach the out-feed table by adding a thin piece of metal/wood between the top and the extensions.  There are also holes on the outer edges of the steel extension tables that I didn't utilize but probably could have.  Between these two mounting possibilities, I probably wouldn't have had to drill holes into the legs.  Regardless, this wouldn't change the final product much and I'm not that upset not doing.  Another thing I would change is to incorporate the "handle" into the hinged-leg better.  It was more of an afterthought that I realized I needed after it was assembled.  Lastly, I would consider doing something different for the hinge-leg. I would consider getting a collapsable shelf bracket (sold by Rockler) or another type of bracket to replace my constructed leg (I think latter braces would work perfectly...).  Regardless, I am very happy with it!  Let me know if you have any questions or advice.  I am contemplating sealing/painting the entire structure and top... haven't decided yet.

Side View.  You Can See the Handle to Help Operate the Hinge-Leg
Added Miter Slots
View From the Back
Fully Collapsed.
Partially Collapsed to Show How the Hinge-Leg Works
Piano Hinge and Adjustment Screws
This is Where the Hinge-Leg 'Attaches' to the Saw When in the Up Position
Spacers to Adjust the Rear of the Table Vertically
Main Hinge
You Can See Here How I Attached it to the Saw
Fully Collapsed.  Gap is for the Rear of the Factory Fence
My Half of the Garage :)

Next up, a couple of table saw sleds!

Table Saw Upgrade

on Saturday, December 10, 2011


Alright! I finally bit the bullet, saved up some cash, and pulled the trigger on buying a new table saw.  Its nothing fancy by any means, but it's an enormous upgrade from my old table saw.  The plan is for this one to last several years...  I have a few upgrades/jigs in mind now that I've upgraded.  Including a couple of nice blades (40, 80 and a 6" dado set), a pop-up out-feed table, a taper jig, a miter gauge, fence rails, a couple of custom inserts (dado and zero clearance), a tenoning jig, and a cross-cut sled --all of which will be home-made except for the blades.  If you come across anything you think I'd be interested in or if you have any suggestions, please let me know.  Below you can see pictures of the old Ryobi (BTS16) and the new Ridgid (R4512).


Tree Thingy

on Friday, December 9, 2011


Randy put a picture of this up on her Facebook/Twitter but I thought I would include it here for all others who didn't see it there.  It contains several miscellaneous hooks so it is meant to be used as a coat/bag/etc. rack.  We built it with some miscellaneous wood we had come across over the past month or so (we had been planning on making it for a little while).  I still have a lot of leftover wood so if you need any for a similar project, hit me up.


And here's a random picture of Tom in the baby room.


Owen's Changing Table

on Monday, November 14, 2011


Being the weirdo that I am, the first thing I thought of when Randy told me we were having a child was what I would build for his/her room.  Of course, the first piece that came to mind was a crib that could be hand-crafted by his/her old-man and it could be passed down from generation to generation. Yeah, right... assuming it doesn't get eaten by mice in the attic where it'll sit for 20 years between generations.  Even with this thought in-mind I was still open to the idea of building the type of crib that could be converted into a bed and used for many years.  I looked at several models and I was all set to make this dream a reality until we found a crib that we absolutely loved (it can't be converted into a full-size bed, so there is potential for still making a bed one day if I get the itch).  See the picture below of the crib we chose.  The best part, it was significantly cheaper than most cribs we were looking at.  With this option now a reality, I moved on to the other piece I would inevitably build, the changing table.

Owen's Crib (w/out Bedding) and Chair
 Again, I didn't want to make something that would only be used for a few years and then tossed to the side or converted into a microwave stand.  I wanted to craft a piece that could be used for many years as a dresser.  I wanted to know that the blood I would shed building it would be worth it (yes, there was a hint of blood shed).  After doing some research (Randy loves perusing Pottery Barn and I love Amish Furniture websites and the always-trusty Google Image searches) we decided on a plan and I sketched it up.  After the boss approved the plans, I went to work.

It's made of solid 3/4" Pine, 3/4" Birch Plywood for the top/sides/shelves and 1/4" Birch Plywood for the door panel and back.  I went with Pine/Birch ( as opposed to Oak, etc.) because it would be painted white.  I painted it with enamel latex paint (diluted with just the right amount of water) using my trusty Harbor Freight HVLP spray gun and then sealed with clear satin polycrylic which really adds a nice finish.  I was able to fully reap the benefits of spending a lot of time fine-tuning my painting techniques while building our entertainment center.  The painting process was a snap and was the easiest part of this build.  I then finished it off with self-closing euro hinges and full-extension drawer slides.  Randy found some "button" door knobs to cap everything off. If you have any specific questions, please let me know.


Face Frame
Test-Fitting the Drawers
Drawers All Installed
Just Installed the Drawer Faces
Ready for Paint
After 1 Coat of Primer, 2 Coats of Paint and 3 Coats of Clear
Making Sure Everything Still Functions
Drawers Still Fit and Operate Perfectly
Full-Extension Drawer Slides and Adjustable Shelves
Set-Up in Owen's Room
Lots and Lots of Space

Done!


Main Tools Used: My cheap Table Saw (I reallllllly want/need to get a better one), 10" Sliding Miter Saw, Router Table, Pocket-Hole Jig, Cordless and Corded Drill (life saver), Palm Sander, Belt Sander, Various Hand Planes, Hand Chisels, etc.

Owen better enjoy it!

The Inevitable Begins With a Set

on Wednesday, April 6, 2011

-
Next up on the project wheel is a build that will lead to multiple future builds.  Randy and I, like most young and frugal couples, have a hodge-podge of bedroom furniture.  The nightstands are mismatched hand-me-downs, our headboard is from Randy's childhood, one chest-of-drawers is mine from birth, and the other was left by the previous tenants at our Ave. D rent house in Abilene.  Needless to say, my part-time job for the last few years has been convincing Randy that we don't need to buy expensive, matching, bedroom furniture.  I was delaying the inevitable.  Luckily, we can build them piece by piece.  First-up, matching nightstands.

Randy was in charge of looking at other pieces of furniture to help determine the style.  Luckily, the designs she picked were simple, classic, and elegant designs that would look good and make my life a little easier in the building process.  We quickly decided on a custom style based on a couple of selections and also decided we wanted the finish product to be stained.  We made sure the style would transfer well on a large scale as we will eventually make a complete matching bedroom suite.  I won't bore you with many more details but I will say that we used solid 3/4" Oak for the casing with Oak plywood tops (1/2") , sides (1/4"), and backs (1/4").  The drawers are made of 1/2 " Birch plywood and faced with 3/4" Oak.  I used full extension drawer slides on the drawers which makes for very smooth operation.  The stain is oil-based Minwax "Red Chestnut" with oil-based Minwax "Clear Satin" polyurethane.  If you want any additional details on supplies, build techniques, specifications, etc., let me know via the comments.  No trade secrets here.


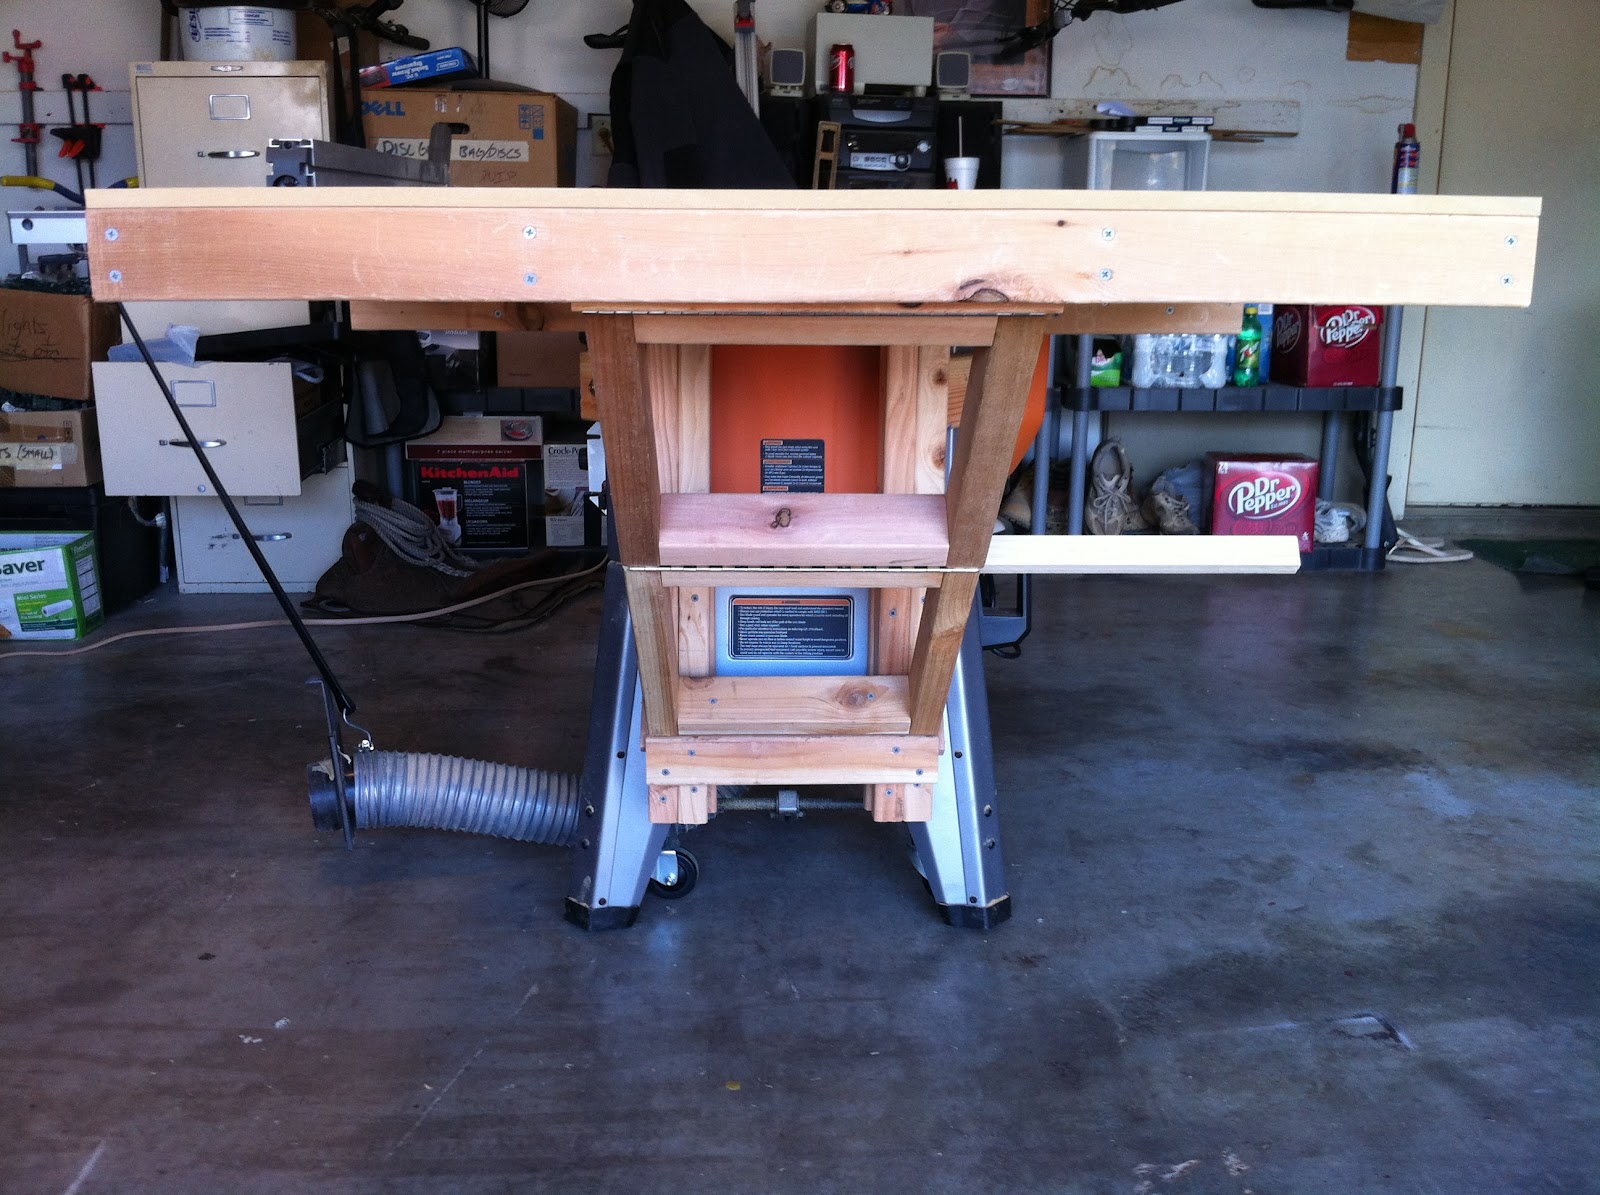
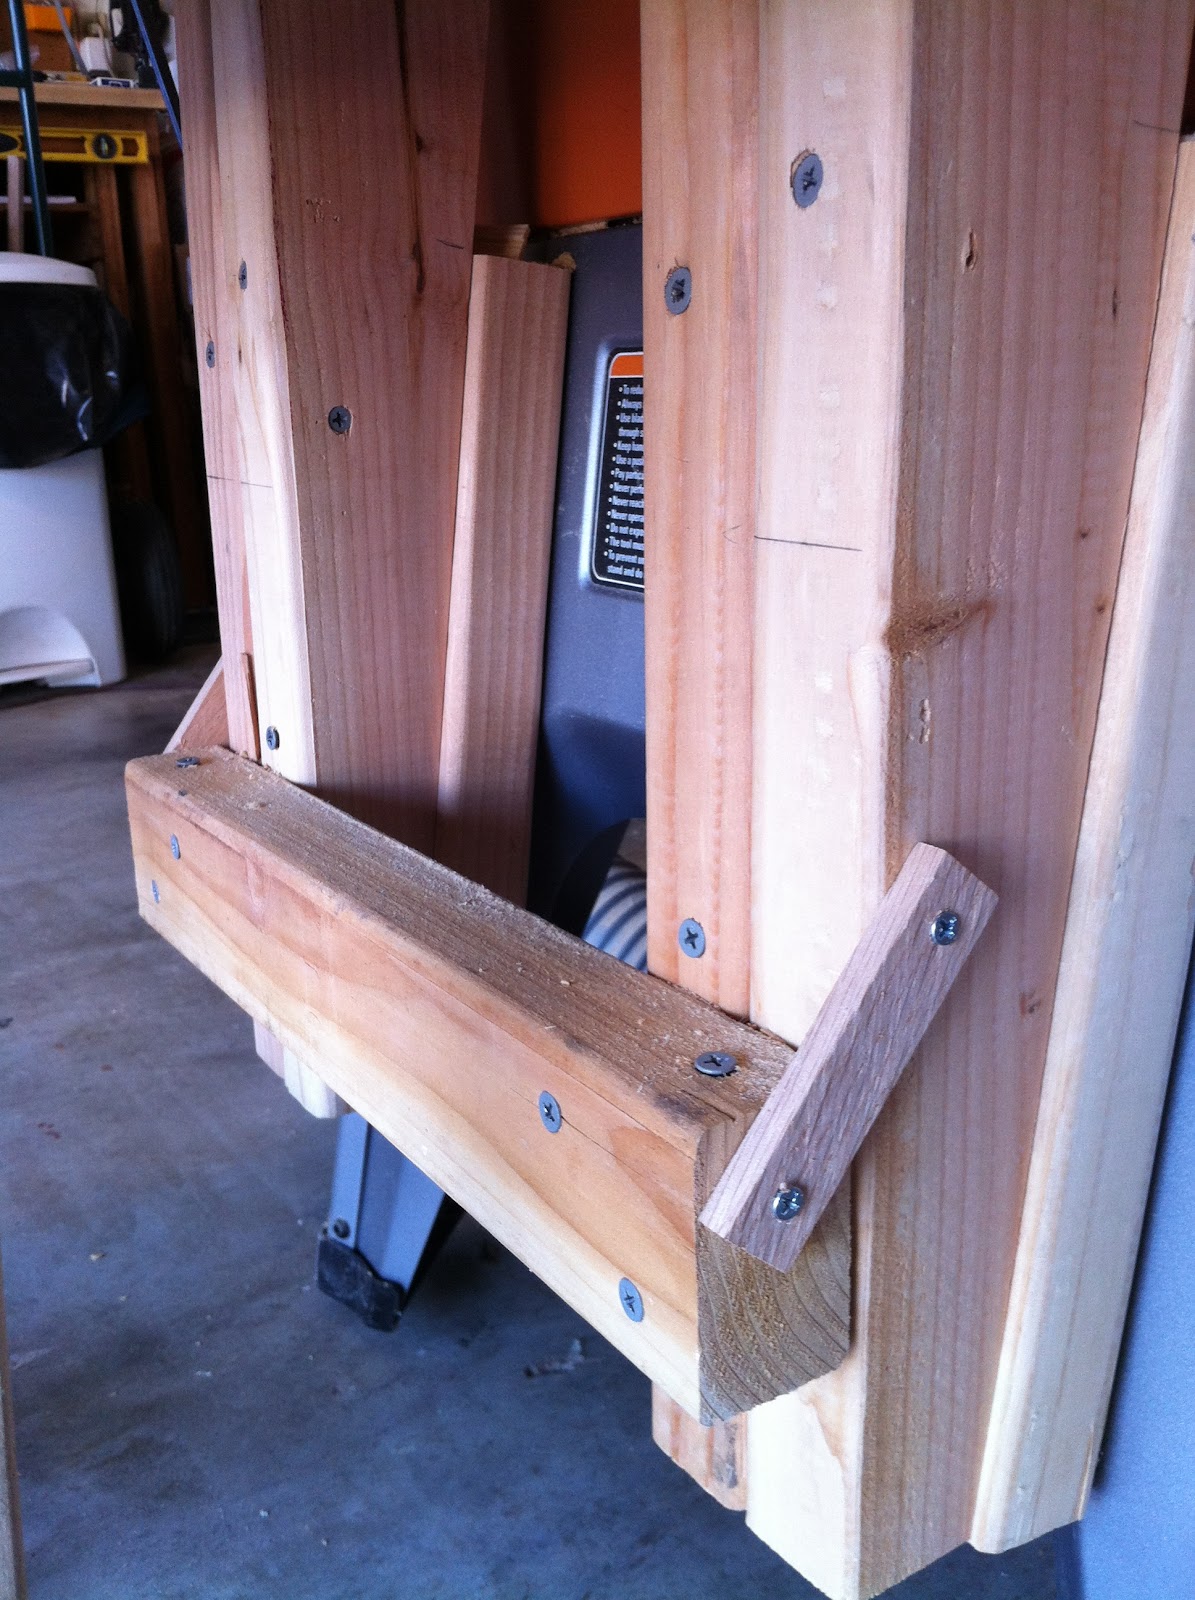
My next woodworking post will be all about the work benches I've built and I might throw in some information about my tools and what-not.   Let me know if you have any requests.

Past Projects

on Friday, February 11, 2011

-
As I mentioned in my previous post, I have built several things in the past.  I helped a friend build an entertainment center in college (using only a circular saw and a drill... pretty ridiculous), built a dog house for Tom, built a screen door for our patio, and a catapult in 5th grade (just to name a few).

To illustrate some of the aforementioned projects, I have attached some miscellaneous photos.  Again, if you have questions or want any additional information, use the comments.


The test fit before I painted and added the dog door


NEXT: Tom's Cabin
Treated Wood Foundation
Tom wanted to help with the designing
He was very opinionated
It was designed so it could be disassembled and moved easily
Test Fit
Again, trying to help
She was more excited than Tom was (This was right before she hit her back trying to get out)
He didn't want to sit still...but I think he likes it.
Lastly: The college entertainment center
This was made on the cheap and with MINIMAL tools.  Not a good indicator of future performance, but still handmade nonetheless.


/* Defaults