Posted by
Jace
on
Wednesday, December 21, 2011
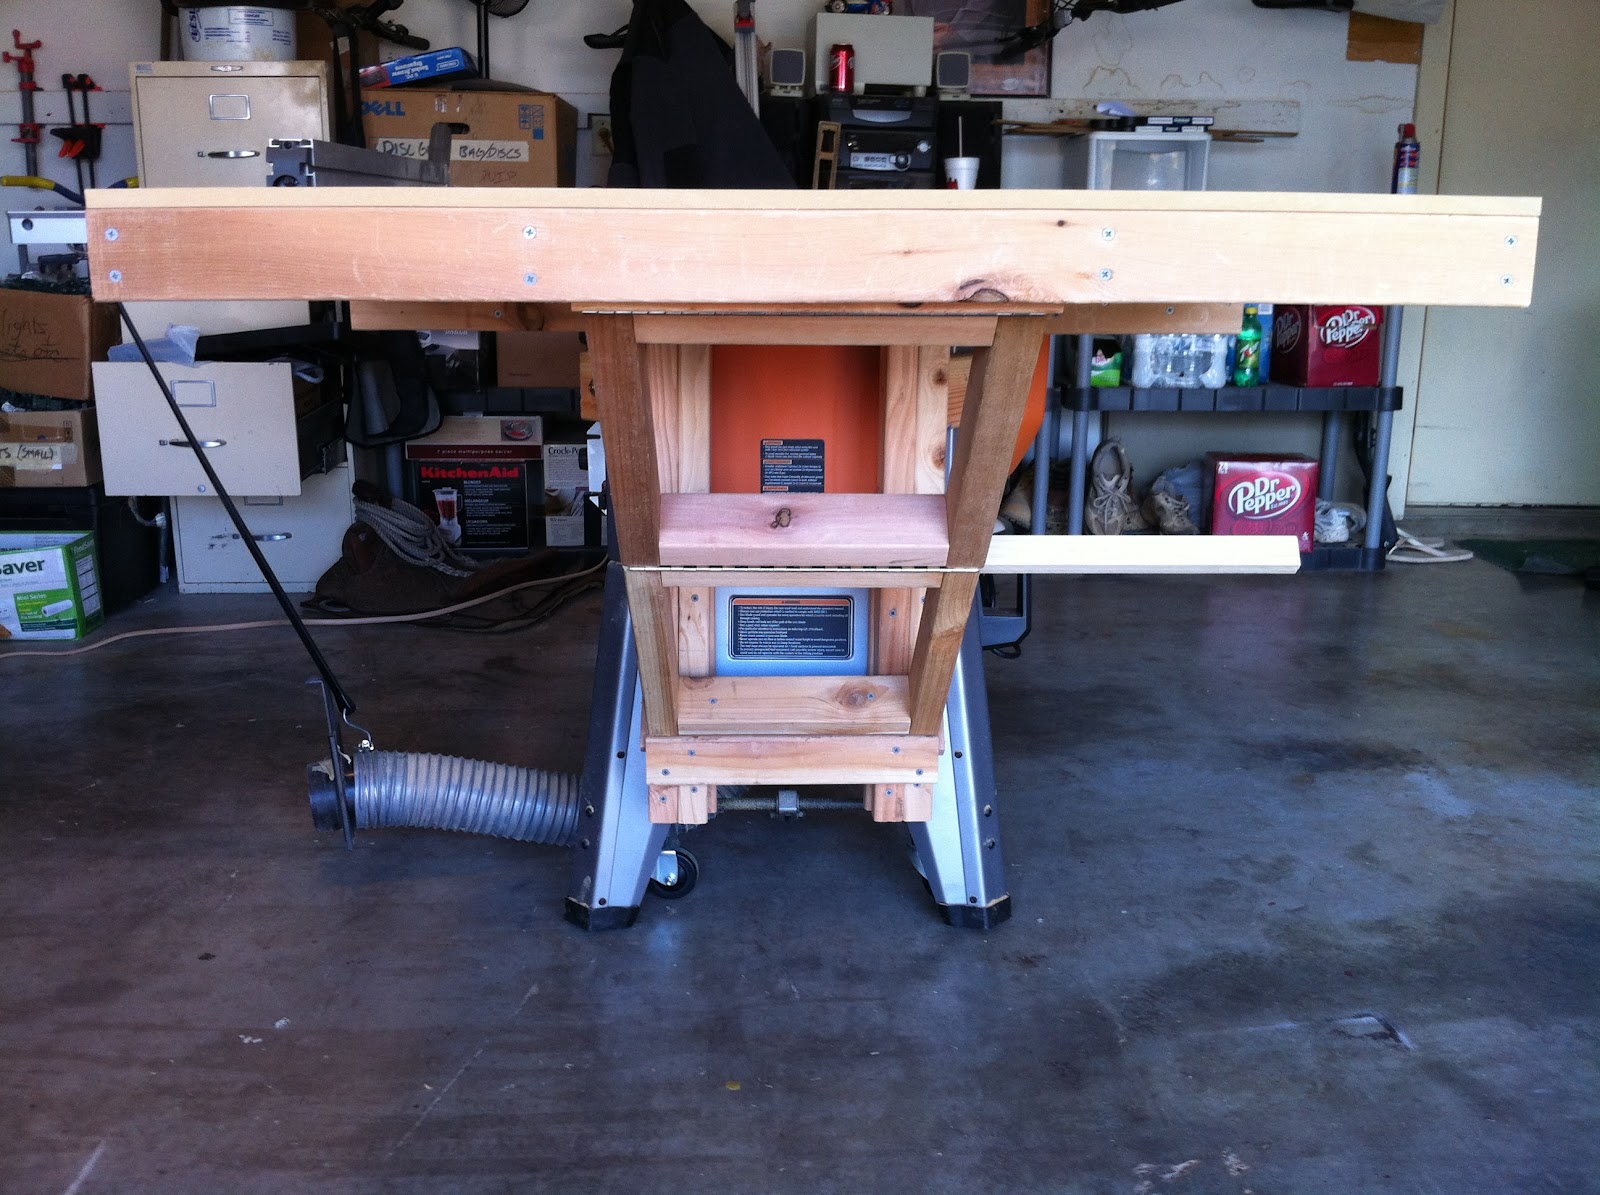
I finished up my out-feed table the other day! (I added multiple pictures below to illustrate what I'm about to describe)
I wanted it to be as big as possible (when flipped up), as compact as
possible (when flipped down), and as lightweight as possible to reduce
the strain on the table saw stand and for ease of mobility. With that
in mind, the braces/mounts attached to the table saw are standard 2x4's
and a 2x6 at the pivot point, the table frame is cedar 2x3's and the top
is 1/2" MDF. I am strictly using it as an out-feed (won't be
hammering, etc. on it) and therefore went with the aforementioned
structure. It is as wide as the factor table-top (40") and is 30" long.
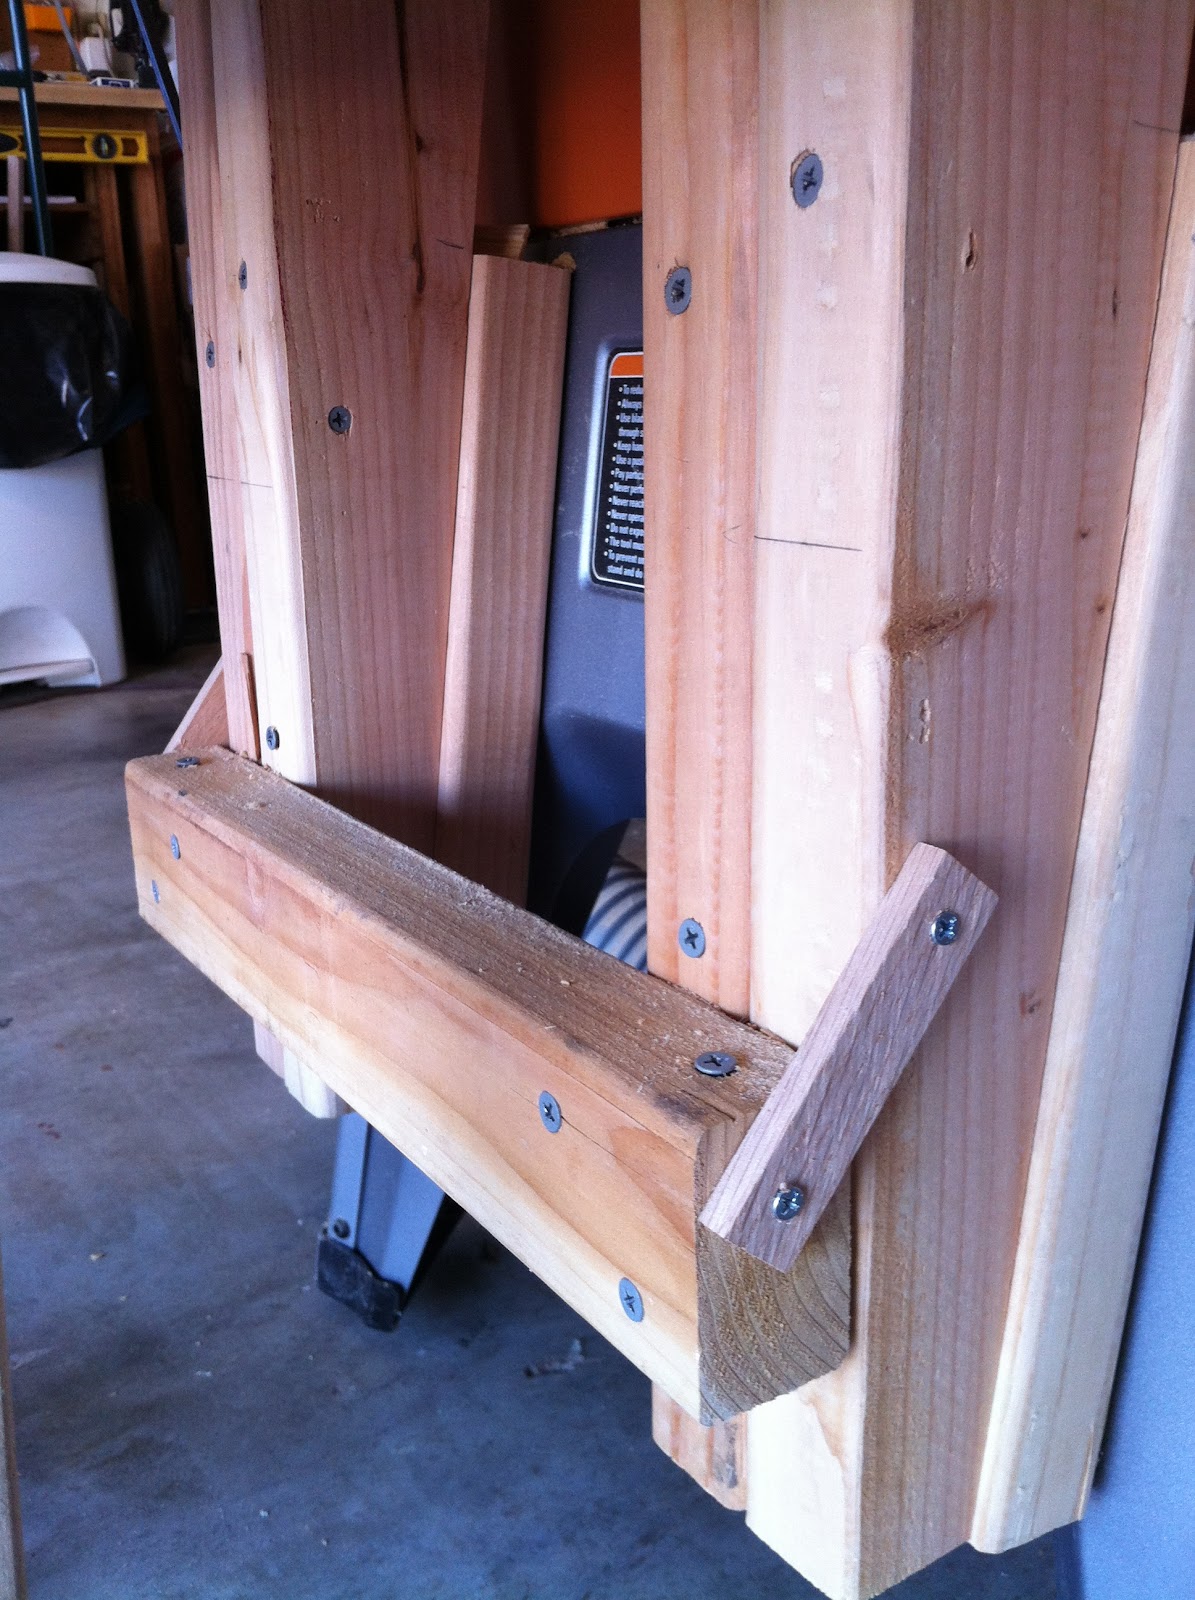
The other key thing I wanted to include was adjustability. At the
joints of the "hinge-leg" and at the contact point of the hinge-leg when
it's in the up position, I added screws (matched up head-to-head) that
could be adjusted to increase/decrease the spacing/gap to be able to
adjust accordingly after it was completely assembled. I attached the
top of the hinged-leg in such a way that it could be adjusted by
increasing/decreasing the shim to raise or lower the back edge. I also
purposefully built the table to be a consistent 1/8" lower than the
table saw top so that I could shim it up for a perfectly flat surface in
relation to the table saw top. I used piano hinges for the main hinge
and the hinge-leg and I used 6 bolts to attach the 2x4's to the table
saw (4 in the legs and 2 in the corners of the upper structure).
If you have any questions, please let me know! I looked at several
similar tables when building this one. I am very happy with it but I do
have a few things I would do differently if I built another one...
First, I would probably mount it differently to the actual saw. I would
probably use the bolts that attach the steel extension tables to the
cast-iron top to attach the out-feed table by adding a thin piece of
metal/wood between the top and the extensions. There are also holes on
the outer edges of the steel extension tables that I didn't utilize but
probably could have. Between these two mounting possibilities, I
probably wouldn't have had to drill holes into the legs. Regardless,
this wouldn't change the final product much and I'm not that upset not
doing. Another thing I would change is to incorporate the "handle" into
the hinged-leg better. It was more of an afterthought that I realized I
needed after it was assembled. Lastly, I would consider doing
something different for the hinge-leg. I would consider getting a
collapsable shelf bracket (sold by Rockler) or another type of bracket
to replace my constructed leg (I think latter braces would work
perfectly...). Regardless, I am very happy with it! Let me know if you
have any questions or advice. I am contemplating sealing/painting the
entire structure and top... haven't decided yet.
 |
| Side View. You Can See the Handle to Help Operate the Hinge-Leg |
 |
| Added Miter Slots |
 |
| View From the Back |
 |
| Fully Collapsed. |
 |
| Partially Collapsed to Show How the Hinge-Leg Works |
 |
| Piano Hinge and Adjustment Screws |
 |
| This is Where the Hinge-Leg 'Attaches' to the Saw When in the Up Position |
 |
| Spacers to Adjust the Rear of the Table Vertically |
 |
| Main Hinge |
 |
| You Can See Here How I Attached it to the Saw |
 |
| Fully Collapsed. Gap is for the Rear of the Factory Fence |
 |
| My Half of the Garage :) |
Next up, a couple of table saw sleds!


1 comments:
I bought Dewalt DW175 miter saw two months ago. I have problem with cutting board 90 degree. Do you think I use table miter saw improve cutting boar? I want to décor crib for my daughter
Post a Comment